How To Use 3M™ Purple Finishing Film Discs for Optimal Defect Removal
How To Use 3M™ Purple Finishing Film Discs for Optimal Defect Removal
C.W. Hayden Co. How To Series
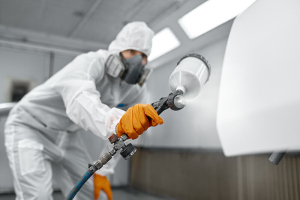
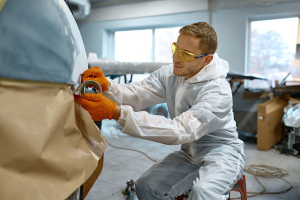
How to use 3M's Purple Finishing Discs system with an orbital sander. VP C.W Hayden, Chris Hayden uses a 6" 3M™ Hookit™ Purple Finishing Film Disc P2000, P1500, P1200 grade and 3M™ Trizact™ Hookit™ Clear Coat Sanding Disc P1500 grade. The below steps are all performed damp to keep the loading and friction down. Make sure to keep your surface damp but not soaking wet for best results.
Step 1:
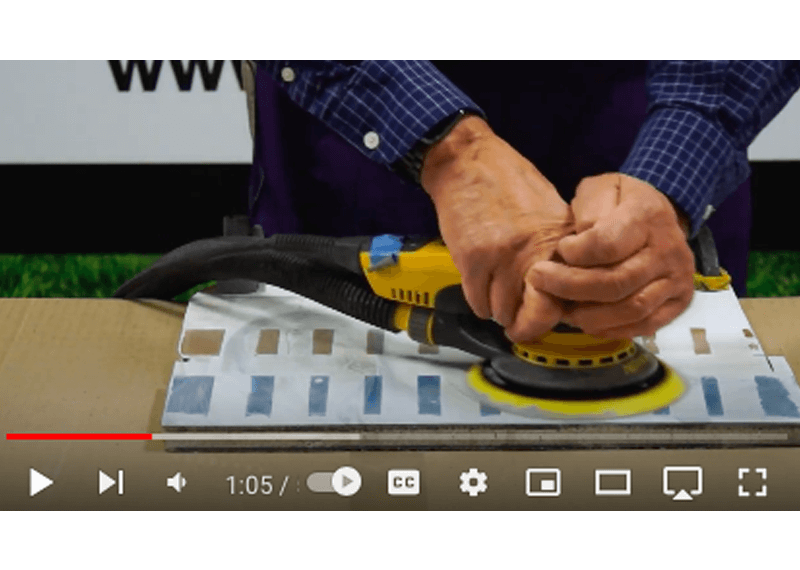
Mist out some water onto your panel and start with your P1200 grit disc. Sand the panel, stopping frequently to mist up the back-up pad, You may notice that you get a little bit of loading that will appear. Make roughly 6 passes with the 1200 grit moving directionally North, South, East and West with each pass to make sure you cover the surface completely. Go ahead and run your fingers over the surface doing a tactile test to check for defects. Repeat sanding actions remembering to not use too much water when you mist, or the disc may hydroplane which will reduce the cutting efficiency. The P200 is a very fine grit so the cutting action is not tremendously fast and is helped by the water. It’s important that you don’t go coarser than the P1200 so that you don’t introduce scratches that will be difficult to fix later. If you take a little bit more time with the P1200, the next two steps will be much easier. Once your surface feels smooth to the touch, wipe it clean, using a cloth to remove any dust or sludge.

Spray down your surface.

Move over your panel in a multi-direction motion.

Wipe down any dust or sludge off your surface.

Perform a tactile test to check for surface defects.
Step 2:
Now shift over to the next grit which is the P1500. Re-wet the surface after wiping it down and repeat the same actions as outlined in Step 1. Make sure to continue running the sander over the surface in a North, South, East & Westerly motion. You should feel the sander start to work harder as the surface becomes flatter. Your stiction should increase the friction and it may load the sander quite a bit. If you allow your sander to get too dry it can cause it to stall, so remember to continue to wet the surface as you go, wiping it down to keep it clean.

Spray the surface of your 3M™ Purple Finishing Film Disc and your surface panel.

Move your sander over the panel in a multi-directional motion.

Continue to wipe any dust or debris off your panel as you go.
Step 3:
Finally switch over to the P2000. This is the last step. Repeat the same actions again as per Steps 1 & 2, moving over your panel in a North, South, East & Westerly motion. At this point you should have a finish that would be very easy to buff. If you start with a P2000 as your starting point to polish, it will be very quick and easy to bring that up to a high lustre.

By this stage you may still be able to see defects on the surface of your panel whether it be a run, drip or water spot etc, but your surface should now be completely smooth and ready to buff, paint or polish.
Click the link for the full C.W. Hayden Tutorial: https://www.youtube.com/watch?v=Z83KO5g_NoU
C.W. Hayden supplies all types of abrasives and more. Visit our Finishing Systems page to see all of your options.