How To Apply & Remove VHB Tape

3M™ VHB™ Tape - How To Apply & Remove VHB Tape
C.W Hayden Co. How To Series
3M™ VHB™ Tape makes product assembly fast and easy in ways that traditional fastening methods can’t offer. Because it is both a pressure sensitive adhesive and a close cell foam, it bonds and seals in one step, eliminating the need for liquid sealants.
For applications like industrial enclosures and electronics this increases through put and simplifies assembly. The adhesive skin of the 3M™ VHB™ Tape bonds quickly without the need to fixture or clamp while waiting for the adhesive to dry or cure. Assemblies can immediately move from one station to the next, and this increases through put for customers in a variety of industries from electronics to bus building to structural glazing. Because 3M™ VHB™ Tape can be applied from a roll or die cut to specialty shapes, powered tools are often unnecessary, this simplifies the process and can decrease the cost of specialised labour and for products with a continuous manufacturing process like extrusions 3M™ VHB™ Tape can be applied during the extrusion process.
Alternately parts can be manufactured during the converting with the tape already applied, eliminating an assembly step for faster and easier assembly. Just one more way that 3M™ VHB™ Tape helps engineers dream, design & deliver industry leading products.
Application & Removal Guide
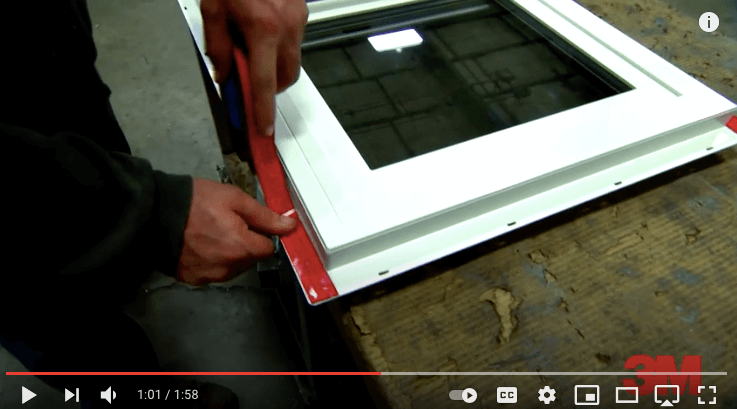
Step 1:
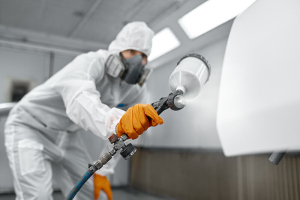
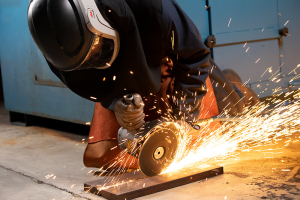
Surface Preparation - Cleaning the substrate surface helps any adhesive or tape achieve a better bond. Getting the surface right up front can save time and trouble later. Cleaning helps form a better bond, and some contaminants require more attention than others. Priming and abrading can also improve the ability of the adhesive to stick to the substrate in certain situations.

Step 2:
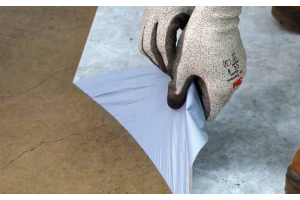
Tape Application By Hand - Start the tape at the edge of the surface and lay it down, applying constant pressure as you go. Apply a roll downforce of at least 15 lbs with a dense J-roller over the entire area to ensure good contact between the tape and the first substrate surface. Remove the protective liner to apply the other substrate.
Step 3:
Applying Final Pressure - Applying pressure to the applied tape facilitates optimal wet-out onto the substrate. The amount of pressure required to achieve what is typically known as wet-out or acceptable contact. Typically, this is achieved by the application of greater than 15 psi at the tape bond line.
If Necessary: Tape Removal Misapplication or damage
Components may require the removal of 3M™ VHB™ Tape from bonded surfaces if damage occurs or due to tape misapplication. Apply isopropyl alcohol to the edge of the bond to help lubricate the cutting tool and prevent the separated tape from bonding together again. Use an oscillating tool to cut the tape, cutting one eighth inch to one-quarter inch deep at each pass. When components are separated, use the oscillating tool to remove tape residue.
Use 3M™ Adhesive remover to remove any remaining residue:
- Spray on
- Let soak in
- Scrub with a hand pad to help loosen and remove residue
- Wipe clean with a disposable towel or cloth
C.W Hayden supplies 3M™ VHB™ Tape and more. Visit our VHB Tape page to see all of your options.