The Easy Way to Optimize Pneumatic Tool Pressure

The Easy Way to Optimize Pneumatic Tool Pressure
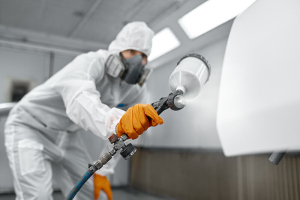
No matter what pneumatic tool you’re using with your abrasives, it’s incredibly important to maintain the optimal tool speeds during use. Consistent air pressure and tool speed is directly related to the performance of your abrasive, whether it’s a Scotch-Brite™ disc, an orbital sander, a right angle grinder, or a fine belt tool.
 We know your time is valuable. We'd love for you to read the whole blog, but if you don't have time, check out our 30-Second Summary
If you don’t have the right air pressure, you won’t have the right speed, and you’ll get inferior results across the board. But if you have the right equipment, you can ensure you’ve got the right pressure by checking pneumatic tool speeds while under load. Fortunately, there’s a solution to quickly and easily test the air reading at any drop in your shop. Better yet, it’s simple to use and easy to make.
With this pressure tester, you have a safe, cheap and reliable way to get an instantaneous shop air reading with only a few connections. It’s tough to gauge the air pressure changes that occur as more people get on a pneumatic line to operate their tools, but with this device, you can easily ensure your abrasives do the job they’re supposed to.
Building your own inline pressure tester
To get started with your own DIY pneumatic pressure tester, you’ll need a few key pieces of equipment. Obviously, you’ll need an air compressor (or whatever air pressure system you’re testing), and a pneumatic tool. The rest of the parts you’ll need are:
- Pressure gauge
- Brass T
- Coupler and plug
- Teflon pipe tape
To build the pressure tester, first you’ll need to wrap the male threaded ends of the pressure gauge, coupler and plug with Teflon pipe tape. The Teflon tape helps create a secure, airtight connection between the various components by removing any gaps that air could escape through. Next, you’ll start connecting the parts together.
Start by connecting the pressure gauge to the top port of the brass T, then connect the coupler the port on the right side of the brass T, and thread on your plug to the remaining port. Be sure to tighten the fittings down with a wrench to create a nice seal and ensure the components are correctly placed.
Congratulations! You’re now a proud owner of a versatile pressure test tool. Whenever you’re ready to test your equipment, simply connect your tool to the coupler, and connect your airline to the plug. It’s as simple as that.
Testing is the best thing for your tools
Once your inline tester is connected to a pneumatic tool and an air compressor, there are three steps to testing the pressure. First, you can simply take a reading of the of the shop air pressure levels to establish a baseline for testing. Next, actuate the connected tool (or tools), let it run freely, and note the pressure levels.
For the third step, you’ll actually be using the tool on a work surface, noting the air pressure while “under load.” For the most part, you should be looking at around 90 pounds per square inch (PSI) to ensure your tool is running at the correct speeds. 90psi is pressure standard for any pneumatic tool, so maintaining that performance level is critical to shop operations.
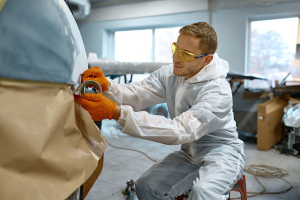
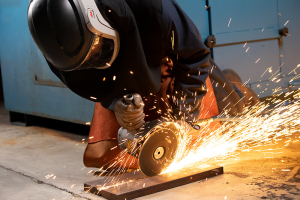
Whether you’re sanding, cutting, grinding or deburring, with this inexpensive testing tool, you’ll be able to optimize operations for every tool operator. By ensuring the optimal air pressure for any pneumatic tool is always met, even while multiple tools are being used simultaneously, your team will deliver stellar results on every project.
For additional information about pneumatic tools and what they can do for you, please visit our Tools and Accessories page today.
We know your time is valuable. We'd love for you to read the whole blog, but if you don't have time, check out our 30-Second Summary:
30-Second Summary:
- ✔ A pneumatic air pressure testing tool is an invaluable device to help ensure consistent performance on a worksite.
- ✔ You can build your own air pressure testing tool with only five parts: Pressure gauge, brass T, coupler, plug, and teflon pipe tape.
- ✔ Get instant readings once your pressure testing tool is connected to air and a tool.
- ✔ No matter what pneumatic tool you’re using, 90psi is the ideal pressure while under load.