How to Know... Your pneumatic tools are operating at optimal speed

How to Know... Your pneumatic tools are operating at optimal speed
This is an inexpensive way to be sure your pneumatic tools are operating at optimal speed while in use or "under load".
Build your own inline airline pressure tester.
You will need:
- Pneumatic tool
- Air Compressor
- Pressure Gauge
- Brass T
- Coupler and Plug
- Teflon pipe tape
To build the pressure tester.
Wrap the male threaded ends of the Pressure gauge, coupler, and plug with Teflon pipe tape. Connect the Pressure gauge to the top port of the brass T. Connect the Coupler to the right port and the plug to the left port of the Brass T. Use a wrench to ensure the fittings are properly in place.
Connect your tool to the coupler, then connect your airline to the plug. You are ready to test!!
Testing
Test 1. In this configuration, the tool is connected to the inline tester and tester connected to the airline or, idle. The pressure gauge should be reading the level of shop air. Test 2, actuate the tool, let it run free and note the pressure gauge reading. Test 3. Place the tool on a work surface, actuate the tool, note the air pressure "under load". In most cases the gauge should read 90psi while under load.
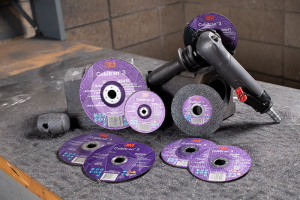
Whether using a pneumatic random orbital sander, Cut-off tool, Right angle grinder or File belt tool, knowing your tools are operating with optimal amount of air pressure, 90psi, "under load", will help insure optimal results.
The Goal
The goal is to know your pneumatic tools are operating at optimal speed under load. Whether sanding, cutting, grinding, or deburring, this inexpensive, quick test, will help you or the tool operator get the job done with the best possible results.
Article by: Steve Bannister